
How to Handle Fish After Catching: Proper Techniques
Learn how to handle fish after catching with proper techniques to minimize harm and improve catch and release success.
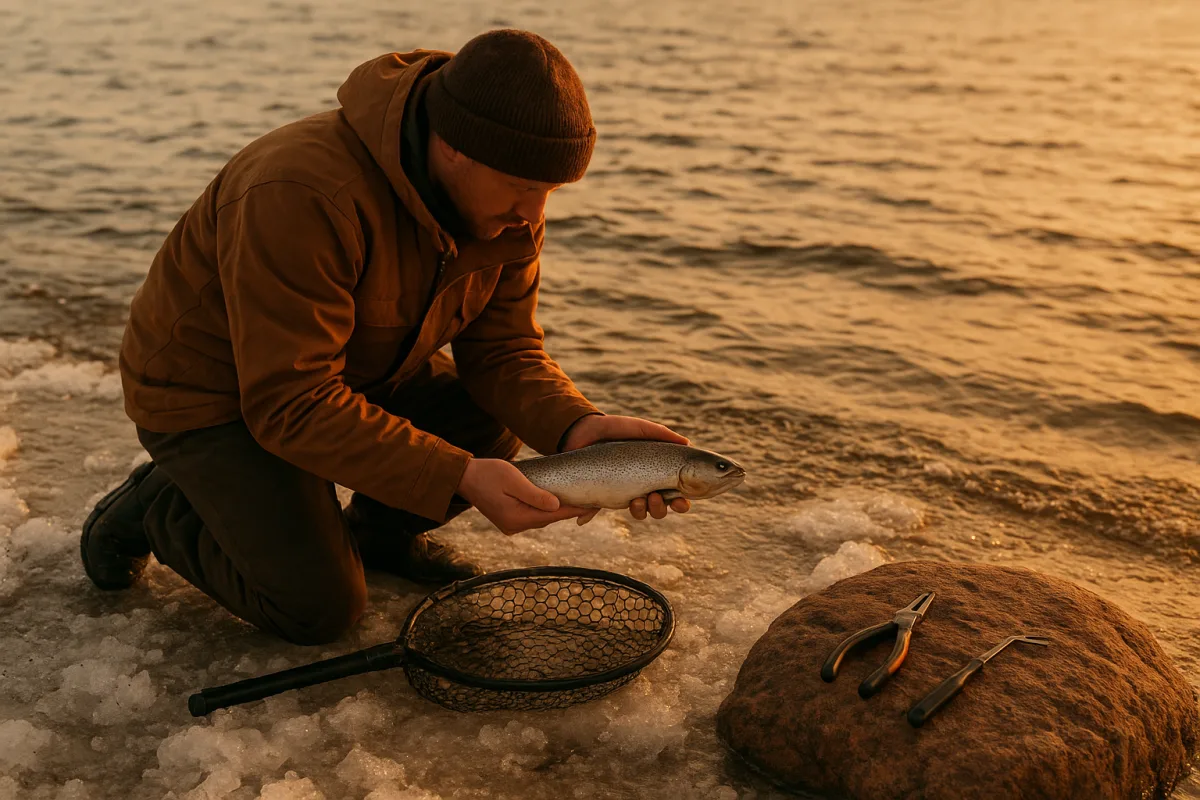
Before the fish bites: arrange the beach for a quick release
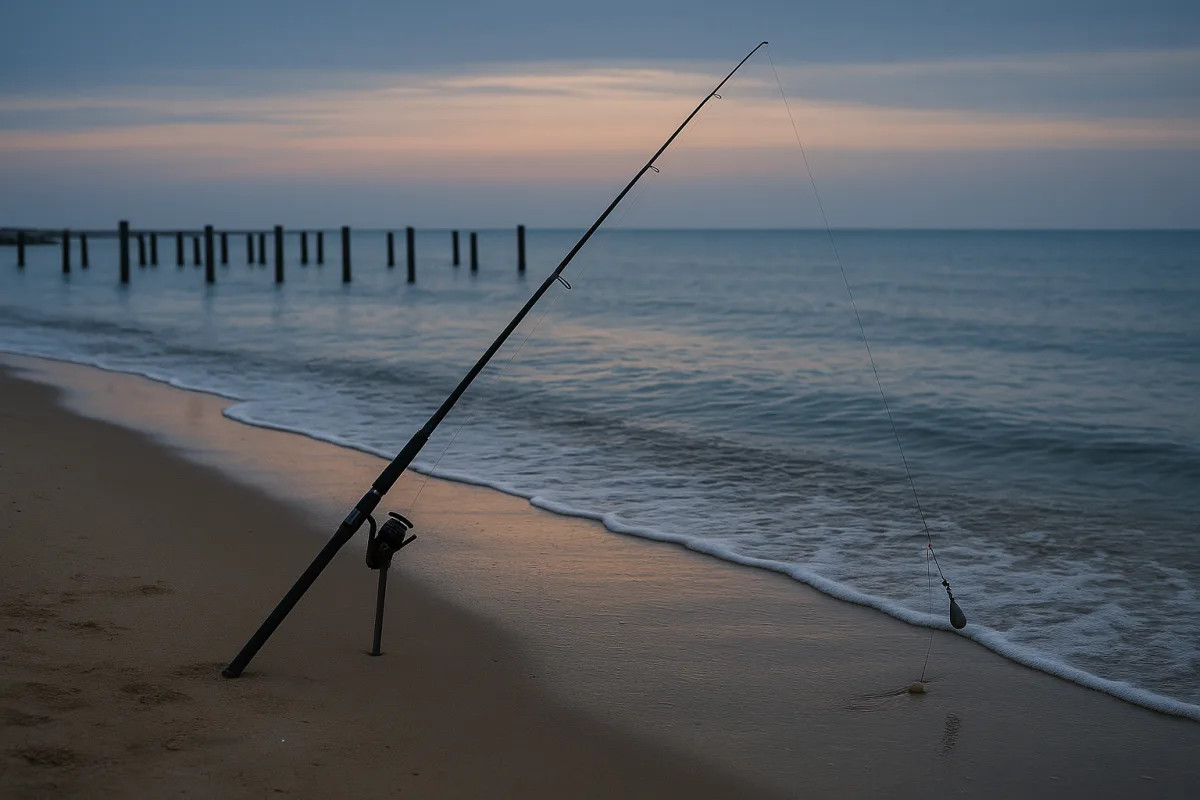
The tide chart decides where to stand, but fish handling starts before the first cast. If an incoming tide is pushing bait through a cut or trough, expect quicker bites and arrange your gear so you can deal with one without walking up the beach. Incoming water commonly improves feeding activity in the surf. [14]
Put needle-nose pliers, hemostats, or a dehooking tool where one hand can reach them. The U.S. National Park Service advises removing hooks quickly and keeping the fish in water during the process when possible. [1]
Bring a landing tool that matches the fish you expect. For most release fishing, a rubber or knotless-mesh net reduces damage to scales and the fish’s protective slime coat compared with abrasive conventional mesh. [7]
Wet your hands, gloves, and net before the fish arrives. Dry hands, dry fabric, and hot sand strip that mucus layer, which is one reason both the National Park Service and The Fishing Manual recommend wet hands or gloves. [1][7]
If teeth, spines, or a deeply set hook are likely, use cut-resistant gloves rather than trying to be brave with bare fingers. Kevlar or stainless-steel mesh gloves are recommended categories for angler protection, especially when controlling a lively fish close to the hook. [7]
Tackle choice matters after the bite as much as before it. The National Park Service recommends tackle appropriate for landing a fish quickly, minimizing fight time and stress rather than stretching every fish fight for sport. [1]
That does not mean simply hauling a fish through the shorebreak on gear too heavy for the situation. It means choosing a rod, line, leader, and drag setting that give control before the fish reaches exhaustion or rolls repeatedly in the wash.
When the fish reaches the wash: land it without adding damage
Use the water already at your feet. Lead the fish into a wetted net or support it in shallow wash while you decide whether it is legal to keep. Do not drag it high onto dry sand just to inspect it.
A net is not the answer for every surf species. Large bluefish are the important exception in the available guidance: Fishing Reports Today recommends gaffing large bluefish quickly because sharp teeth and violent thrashing can damage nets and injure the angler. [9]
That recommendation needs an ethical boundary. A gaff is a keep-fish tool, not a catch-and-release convenience, because it creates a puncture wound. If there is any chance the bluefish must be released under local rules, avoid gaffing it.
Striped bass should be handled with a large rubber net, wet hands, and horizontal support, according to the handling guidance compiled by Fishing Library. [8] A fish that fits the legal slot is not automatically a fish you need to keep.
For flounder, use wet hands or a rubber net and release promptly when needed. Their flat shape may look easy to manage on sand, but the same slime and scale damage applies, and there is no handling benefit in letting one dry out for a photograph. [9]
Do not grab a fish by the gills or squeeze its belly to stop it moving. Keep one hand supporting the head and shoulder area, with the other under the body toward the tail. Larger fish need that horizontal support most. [7][8]
The surf often tempts anglers to blame conditions for rough handling, but the research brief does not support a special wave-height or air-temperature handling protocol. Use the same priorities in calm water and whitewater: wet fish, short handling, secure support, and a prepared release.
The hook is the immediate problem
Once the fish is controlled, deal with the hook before measuring, photographing, or telling the rest of the beach what happened. Pliers, hemostats, and dehookers are recommended because they shorten the handling period and keep fingers away from hooks and teeth. [1][7]
If the hook is easy to reach, keep the fish partly submerged and back it out with the same direction it entered. Do not twist the fish around the leader or pull against a buried barb while the fish is unsupported.
When a hook is deeply embedded, do not turn a quick release into a prolonged operation. The National Park Service’s central guidance is to minimize handling and air exposure, so cutting the line close to the hook can be the better choice when removal would cause more damage. [1]
Use single hooks or a dehooking approach when regulations and your fishing method allow it, but do not assume every hook pattern behaves the same way. The source material supports rapid removal, not a universal claim that one rig or hook style solves every release problem.
Air exposure: count seconds, not photographs
Fish do not have one universal safe time out of water. For cold-water species, the National Park Service advises keeping air exposure below 30 seconds. [1] That is a practical ceiling, not permission to use all 30 seconds.
The Environmental Literacy Council notes that up to 60 seconds may be survivable without measurable mortality in some circumstances, while ScienceInsights notes that tropical or already stressed fish may need exposure closer to 10 seconds. [4][5]
The useful beach rule is therefore conservative: keep the fish wet, finish the essential work first, and treat every second in air as a cost. Do not use a 60-second finding to justify a long photo sequence with a stressed fish.
If a photograph matters, set it up before lifting the fish. Keep the camera ready, hold the fish horizontally over water or a wet net, take one frame, and return it immediately. A photo is not worth repeated lifts.
Water temperature influences fish activity and location in the surf, from reduced activity below 50°F to different patterns in water above 80°F. [11] But the brief found no direct evidence for a precise air-temperature-based handling schedule, so do not invent one.
Releasing the fish: let it leave under its own power
Carry the fish only as far as necessary to get it back into water deep enough to swim. Hold it upright and supported, facing into moving water if there is enough current to pass water naturally through its gills.
Do not shove it forward and backward in the water. The point is steady support and recovery, not creating a dramatic release. Let go only when the fish can maintain balance and swim away under its own control.
If the fish came from deep water and shows signs of barotrauma, ordinary surface release may not be enough. NOAA Fisheries recommends recompression or appropriate venting techniques to address barotrauma, with the method depending on the fish and situation. [2]
That issue is more associated with deep-caught fish than with a typical beach catch, but it matters for anglers fishing deep channels, jetties, or other access points near substantial depth. Do not improvise a venting procedure without knowing the species-specific method.
If the fish is legal and you are keeping it
The handling goal changes once you make the decision to keep a legal fish. It still needs to be quick and clean, but now the priority is flesh quality and food safety rather than release survival.
Taste Lab recommends bleeding a retained fish promptly, within roughly 30 seconds to two minutes, using a cut at the gills or tail artery. [10] Make that decision after confirming the fish is legal, not before.
Do not bleed fish into a bucket of freshwater. Freshwater is contraindicated because it can cause osmotic bruising. Use ice-cold seawater or a salt slurry instead, with a 2 to 5 percent salt concentration cited for this job. [10]
After bleeding, chill the fish immediately. NOAA Fisheries and the Environmental Literacy Council recommend an ice slurry of two parts ice to one part water, holding the fish near 32°F, or 0°C. [2][5]
That is different from laying a fish on loose ice in a warm cooler. A slurry contacts more of the fish evenly, which matters after a long walk over sand or a drive home from an evening tide.
The cited storage guidance allows fish to remain near 32°F for up to five days, but recommends eating it within one to two days for best quality. [2][5] If your cooler cannot stay cold, shorten that timetable rather than trusting the calendar.
Regulations decide whether handling ends in release or retention
Measure and identify the fish before putting it in the keep cooler. Local rules can set size and bag limits, seasonal closures, licensing requirements, restricted gear, and protected zones, and those rules are not interchangeable between beaches or states. [3][16][18][19]
Washington Department of Fish and Wildlife, for example, publishes fishery openings and seasonal rules for its coastal bottomfish fishery. [3] That is the kind of current local authority to check before a trip, rather than relying on an old social-media report.
Protected-species rules can be stricter than ordinary recreational limits. Western Australia and Parks Australia both direct anglers to comply with jurisdictional fishing rules and marine-park restrictions, while New South Wales fisheries authorities have used targeted rules to protect endangered greynurse sharks. [17][18][19]
The practical lesson is simple: know the rule before the fish is at your feet. A quick release is only possible when your net, pliers, measurement method, and legal knowledge are already in place.
Frequently Asked Questions
How should I handle fish after catching to ensure their survival?
Handle fish with wet hands or gloves to protect their mucus layer and keep them in water as much as possible. Support larger fish horizontally with two-point support to prevent internal injury. Minimize air exposure, ideally keeping it under 30 seconds for cold-water species, and promptly release fish that are not kept.
What are the best techniques for handling fish in surf fishing?
Use a wet rubber or knotless mesh net to reduce damage to scales and slime. Arrange tools like pliers and dehookers within easy reach before casting. For large fish, avoid lifting by the jaw or tail alone and support them horizontally. Use cut-resistant gloves when handling fish with sharp teeth or spines.
How long can a fish be out of water during catch and release?
Air exposure should generally be limited to under 30 seconds for cold-water species, as recommended by the National Park Service. Some studies suggest up to 60 seconds may be survivable for certain species, but tropical or stressed fish require even shorter exposure times, around 10 seconds.
What tools do I need for proper fish handling after catching?
Essential tools include needle-nose pliers, hemostats, or a dehooking tool for quick hook removal, and a wet rubber or knotless mesh net to land fish safely. Cut-resistant gloves (Kevlar or stainless steel mesh) are recommended for angler protection, especially when handling fish with sharp teeth or spines.
How do I safely remove hooks from a caught fish?
Remove hooks quickly using needle-nose pliers, hemostats, or a dehooker, keeping the fish in water whenever possible during the process. This reduces stress and injury to the fish, increasing its chances of survival after release.
How we researched this
This article was assembled from 19 cited references.
Nothing here is based on hands-on testing. Where a figure or finding appears, it belongs to the source cited beside it, and the writing says so rather than implying otherwise. Every source is listed below so you can check it.
Sources
- Successful Catch and Release Fishing - Fish & Fishing (U.S. National Park Service)
- Catch and Release Fishing Best Practices | NOAA Fisheries
- Coastal recreational bottomfish fishery season opens March 14 | Washington Department of Fish & Wildlife
- What Happens When a Fish Is Out of Water? - ScienceInsights
- How long can you keep a fish out of water when fishing? - The Environmental Literacy Council
- Catch and Release Fishing: How to Do It Right - Fishing Toolbox
- Surf Fishing Guide: How to Catch Fish from the Beach — The Fishing Manual
- Fish Handling & Catch-and-Release: How to Release Fish Right | Fishing Library
- How To Catch Striped Bass: Complete Guide To Techniques, Gear, And Locations | Fishing Reports Today
- Bleeding Fish · Techniques · Taste Lab
- How Water Temperature Affects Surf Fishing: Best Temps & Fish Behavior
- What to Wear for Surf Fishing: Clothing and Layering Tips
- Surf Fly Fishing: Essential Techniques and Gear
- Surf, Jetty & Kayak Fishing Guide: Gear, Techniques & Tips | West Marine
- Catch and Release Fishing Guide - Fishing Knot Guide | knots.fish
- Surf Fishing California: Regulations, Limits and What You Can Actually Keep | Creel
- New fishing rule to protect critically endangered Greynurse sharks at Terrigal Haven
- Recreational fishing rules, limits and licences | Western Australian Government
- Recreational fishing | Australian Marine Parks | Parks Australia
Related Articles
What to Do If You Catch a Shark While Surf Fishing
Learn what to do if you catch a shark surf fishing, including safe handling, release tips, and legal considerations to protect you and the shark.
How to Clean Fish After Surf Fishing: A Practical Guide
Learn how to clean fish after surf fishing with step-by-step techniques, essential tools, and tips for maintaining freshness.
How to Catch Fish During a Beach Bonfire: Tips and Safety
Learn how to catch fish during a beach bonfire with tips on tides, gear setup, safety, and legal regulations for a successful surf fishing night.
Surf Fishing Techniques for Flounder: Rigs, Tides & Tips
Learn the best surf fishing techniques for flounder including rigs, tides, and how to read the beach for successful catches.