
How to Find Fish in the Surf: Reading the Beach & Tides
Learn how to find fish in the surf by reading tides, water features, and beach structure for better surf fishing success.
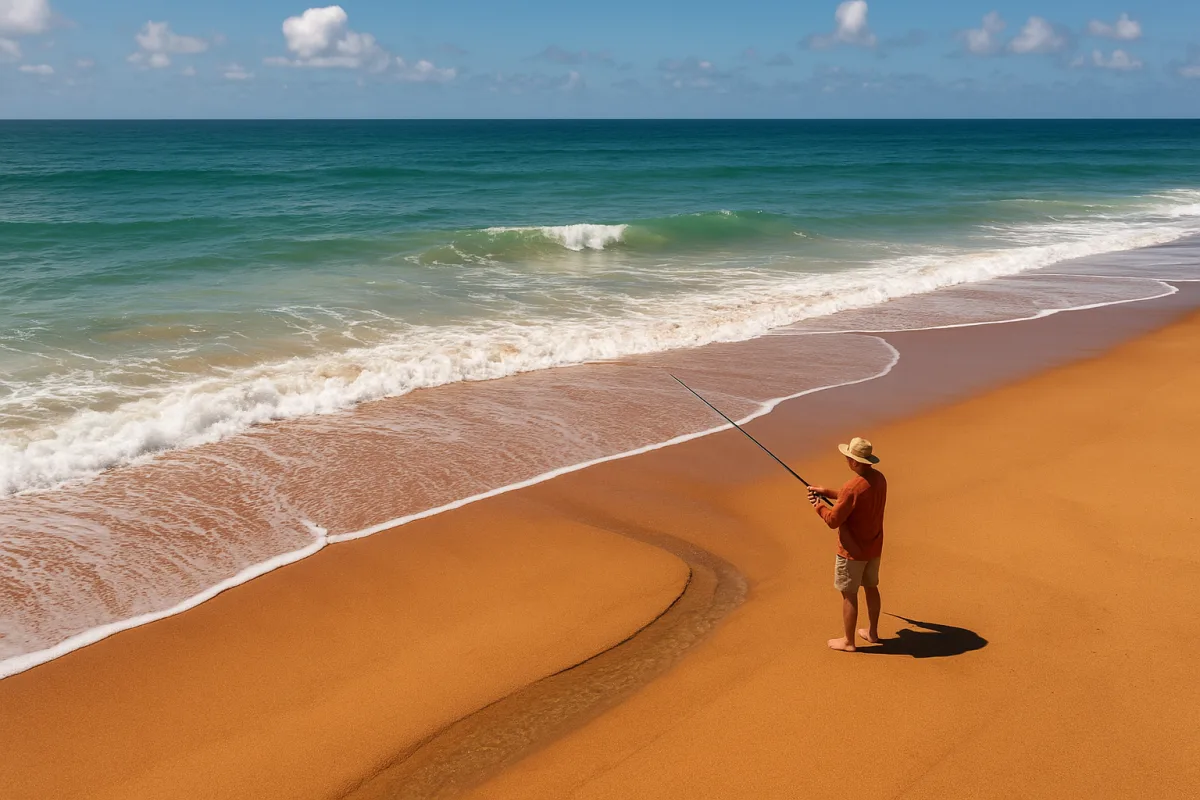
Start with the forecast, not the rod rack
The first problem in surf fishing is deciding whether the beach is likely to have feeding fish at all. A calm-looking ocean can be poor fishing if water is not moving, bait is absent, or the tide has left productive structure dry.
Check the tide chart, wind forecast, swell direction, sunrise or sunset time, and local access before committing. Tide Times Global identifies the periods around tide changes, particularly the incoming tide, as productive because rising water pushes baitfish shoreward. [2]
That does not mean the precise high-tide or low-tide mark is automatically the best time. Guidesly makes an important distinction: slack tide is the period of minimal water movement around the change, and it is often less productive than the moving water before or after it. [12]
Plan to arrive early enough to fish into a tide rather than merely appear at its endpoint. If high tide is at 7:00 a.m., the useful starting plan is to be on the beach while water is still rising, then watch whether current and bait activity persist afterward.
The commonly repeated advice to fish one or two hours around a tide change is only a planning shortcut. Local wind, swell, inlet flow, beach slope, and the species present can shift the useful window, so treat the chart as a reason to observe, not a guarantee.
Dawn and dusk improve the odds when they overlap with moving water. Surfcasting Republic describes these low-light periods as times of increased fish activity, but the tide still matters: sunset at slack water is not as convincing as sunset with bait moving through a trough. [6]
The Rule of Twelfths can help an angler understand that tidal movement is not evenly distributed through a cycle. It is not, however, a proven instruction to fish a particular hour. Use it to think about flow, then let the actual beach decide.
Arrive before you cast and read the water
The second problem is choosing where to fish. Most beginners stand at the nearest convenient opening, cast as far as possible, and wait. That can place bait beyond the fish, over a bar, or in featureless water.
Walk the beach before setting a rod spike. One Outdoors recommends targeting troughs, sandbars, and rip currents because these features concentrate baitfish and the larger fish following them. [3] The productive water is usually a lane, seam, edge, or cut.
A trough is the deeper depression between the beach and an outer sandbar. One Outdoors places many troughs roughly 20 to 40 yards from shore, close enough that a controlled short cast can be more useful than trying to reach the horizon. [3]
Look for a stretch where waves break over a shallow bar, then lose shape or darken in a deeper channel behind it. The change matters because water moving through that channel can carry bait while offering predators a route along the beach.
A cut in a sandbar is another priority. Arizona Kids Need to Know Fishing identifies bar cuts and rip currents as places where water moves seaward through the bar, creating a natural funnel for food and fish. [4]
Fish the edge of a rip rather than casting blindly into its strongest center. The boundary between faster and slower water is where bait can be displaced, while fish can hold just outside the hardest flow and intercept what passes through. [3][4]
Do not confuse a rip-current fishing lane with a safe place to stand. If the current is pulling strongly offshore, fish from firm sand beside it and do not wade into the channel. A good spot is not worth losing footing.
Keep looking after the first cast. Bait may show as flickers, surface disturbance, birds working briefly, or repeated wave changes over the same channel. Battlbox lists blind casting and failure to observe conditions among the common surf-fishing mistakes. [13]
If an area looks featureless, move rather than adding distance. Give a likely trough, cut, or current edge enough time for a tide-driven bite to develop, but do not spend the entire session defending a spot with no visible structure or bait.
Decide whether the fish are close, feeding, and reachable
The third problem is believing fish must be far offshore. Many surf species travel the first trough and the water immediately behind the bar because that is where wave action dislodges food and channels concentrate it. [3][15]
Start one cast short of maximum range. Work the near trough first, then cover the bar edge and the deeper water beyond it if the beach layout allows. This approach reveals where the bottom changes instead of skipping over the closest feeding lane.
A heavier sinker is not automatically better. Use enough weight to hold the bait in the selected lane, then increase only when current and surf drag the rig out of position. Recommended surf sinkers commonly run from two to six ounces. [3][6]
Watch the line angle after the cast. If it sweeps rapidly down the beach, the bait is no longer stationed in the feature you selected. Add weight, cast slightly up-current, or choose a less forceful section of the same trough.
Currents and tides are related but not identical. Guidesly cautions anglers against treating a tide chart as a complete current forecast, because local channels, wind, and beach shape determine how hard water actually moves at the fishing position. [12]
That is why a productive-looking incoming tide can still fail on a particular beach. If no current is carrying bait through the trough, or wind-driven surf makes the line impossible to hold, changing location may be smarter than repeatedly changing terminal tackle.
Rig for the fish and the water movement
Once a fishable lane is identified, the next problem is presenting bait without turning the rig into a tangle. For striped bass, red drum, and similar bait-feeding fish, One Outdoors recommends a fish-finder rig. [3]
Build it with a sliding sinker arrangement above a swivel, then use a 24- to 36-inch fluorocarbon leader in 40- to 60-pound test. Pair it with a 5/0 to 8/0 circle hook sized to the bait and intended fish. [3]
The sliding sinker lets a fish pick up bait with less immediate resistance than a fixed weight. It suits cut bait, clams, and other natural offerings where the aim is to keep the bait anchored in a trough or current seam. [3]
Use a high-low rig when smaller baits and multiple potential species make two hooks worthwhile. Its two-hook arrangement places offerings at different levels, which can be useful when whiting, croaker, or other smaller surf fish are feeding close to the bottom. [3]
A Carolina rig or sliding-sinker rig is another practical choice where a single bait needs to move naturally near the bottom. One Outdoors and Surfcasting Republic include both among common surf options, but neither removes the need to match sinker weight to conditions. [3][6]
Avoid treating rigs as universal solutions. A heavy fish-finder setup is reasonable for large baits and strong current, but it is needlessly bulky for small-mouthed fish feeding on worms. Conversely, a light multi-hook rig may not suit a large striped bass bait.
Match bait to the season before changing colors
Bait choice follows water temperature, available forage, and target species more closely than it follows tackle fashion. Tides & Tails recommends bloodworms and cut menhaden for spring striped bass, when fish are moving through cooler water. [5]
For summer fluke, Field & Stream points anglers toward live minnows or squid strips. These baits fit a fish that commonly works sandy bottom and channels, so place them where a trough gives the rig contact with moving nearshore water. [6]
Fall surf often brings larger forage opportunities. Tides & Tails lists sand eels and bunker for striped bass during that season, when matching the baitfish present can matter more than carrying an oversized assortment of unrelated offerings. [5]
During winter, Your Fish Guide lists clams and bloodworms among baits for whiting and croaker. Slow expectations down in cold water, fish the best part of moving tide, and concentrate on a protected trough rather than expecting fish everywhere along the beach. [7]
Lures have a place when fish are actively chasing bait. Field & Stream includes bucktails, swim shads, and metal lures such as Kastmasters among useful surf presentations, particularly when an angler can cover water and identify a feeding lane. [6]
Water-clarity advice is less certain than tide and structure advice. Natural colors are commonly suggested in clear water, while bright or scented offerings are often suggested in stained water, but the available research brief does not establish a reliable performance advantage.
Buy gear that fits your coast and casting job
The final early problem is buying a rod based on generic surf-fishing advice. Rod length should reflect the species, beach, and casting demands, not simply the idea that longer is always better.
East Coast surf anglers commonly use 10- to 12-foot rods for striped bass and bluefish, according to Fishing Digital. The added length helps manage line over waves and reach farther lanes on broad beaches. [9]
On the West Coast, shorter 8- to 10-foot rods are often used for surfperch and halibut. West Marine’s regional guidance reflects a different mix of species and conditions, so copying an East Coast striper setup can be unnecessarily cumbersome. [10]
Rod & Reel estimates entry-level rods at $50 to $150, budget reels at $30 to $100, and terminal-tackle kits at $10 to $30. Those figures put a basic package around $100 to $200 before bait, line, licenses, or replacement sinkers. [11]
A $200 to $500 mid-range budget gives more room for a better rod, reel, line, and terminal tackle, according to Rod & Reel. It does not guarantee more fish, because a modest setup placed in the right trough beats expensive gear cast into empty water. [11]
Choose equipment after identifying the fish you expect, the sinker weights required, and the beach distances involved. Then use the tide chart to select moving water, arrive early enough to read the structure, and make every cast into a reasoned target.
Frequently Asked Questions
How do I find the best spots to fish in the surf?
Walk the beach before fishing to identify key features such as troughs, sandbars, and rip currents. These areas concentrate baitfish and predators, making them productive spots. Look for deeper lanes 20 to 40 yards offshore where waves break over shallow bars and then deepen, as well as cuts in sandbars where water funnels through.
What tides are best for surf fishing?
The best tides for surf fishing are periods of moving water, especially the incoming (rising) tide, which pushes baitfish closer to shore and stimulates predator activity. Avoid fishing during slack tide—the brief period of minimal water movement around high or low tide—as it tends to be less productive.
How can I read the beach to locate fish?
Look for changes in wave patterns such as where waves break over shallow bars and then lose shape over deeper troughs. Identify rip currents and bar cuts where water flows seaward through the sandbar, creating natural funnels for food and fish. Observing bait activity, surface disturbances, and bird behavior can also help pinpoint fish locations.
Where should I cast when surf fishing?
Start by casting into the trough, a deeper channel typically 20 to 40 yards from shore, rather than making a long, undirected cast. Focus on the edges of rip currents or sandbar cuts where bait accumulates, rather than the strongest current center, to intercept feeding fish.
What water features attract fish in the surf?
Fish are attracted to troughs, sandbars, rip currents, and cuts in sandbars because these features concentrate baitfish and create feeding lanes. The interface between faster and slower water near rip edges is especially productive, as it allows predators to ambush prey carried by the current.
How we researched this
This article was assembled from 16 cited references.
Nothing here is based on hands-on testing. Where a figure or finding appears, it belongs to the source cited beside it, and the writing says so rather than implying otherwise. Every source is listed below so you can check it.
Sources
- Flounder fishing returns ahead of Labor Day weekend
- Best Tide for Fishing: The Complete Guide to Tidal Fishing
- Surf Fishing Guide: Rigs, Baits, Best Beaches & Techniques | One…
- Reading The Beach Before You Fish: Complete Beginner's Guide
- Striped Bass Fishing — Seasons, Lures & Water Temps | Tides & Tails
- Surf Fishing: A Beginner's Guide | Field & Stream
- The Ultimate Guide to Beach Fishing Bait: What Works Best in 2025 🎣 – Your Fish Guide
- Surf Fishing for Beginners — FishRadar
- East Coast Surf Fishing Guide — Stripers, Red Drum & Bluefish
- Surf, Jetty & Kayak Fishing Guide: Gear, Techniques & Tips | West Marine
- The Complete Guide to Surf Fishing Setups — Rod & Reel
- How to Read Tide Charts for Better Saltwater Fishing | Guidesly
- What Is Surf Fishing? A Complete Guide to Coastal Angling - Battlbox.com
- Surf Fishing: Tides And Current - The Fisherman
- How to Read the Surf and Catch More Fish from the Beach
- Surf fishing
Related Articles
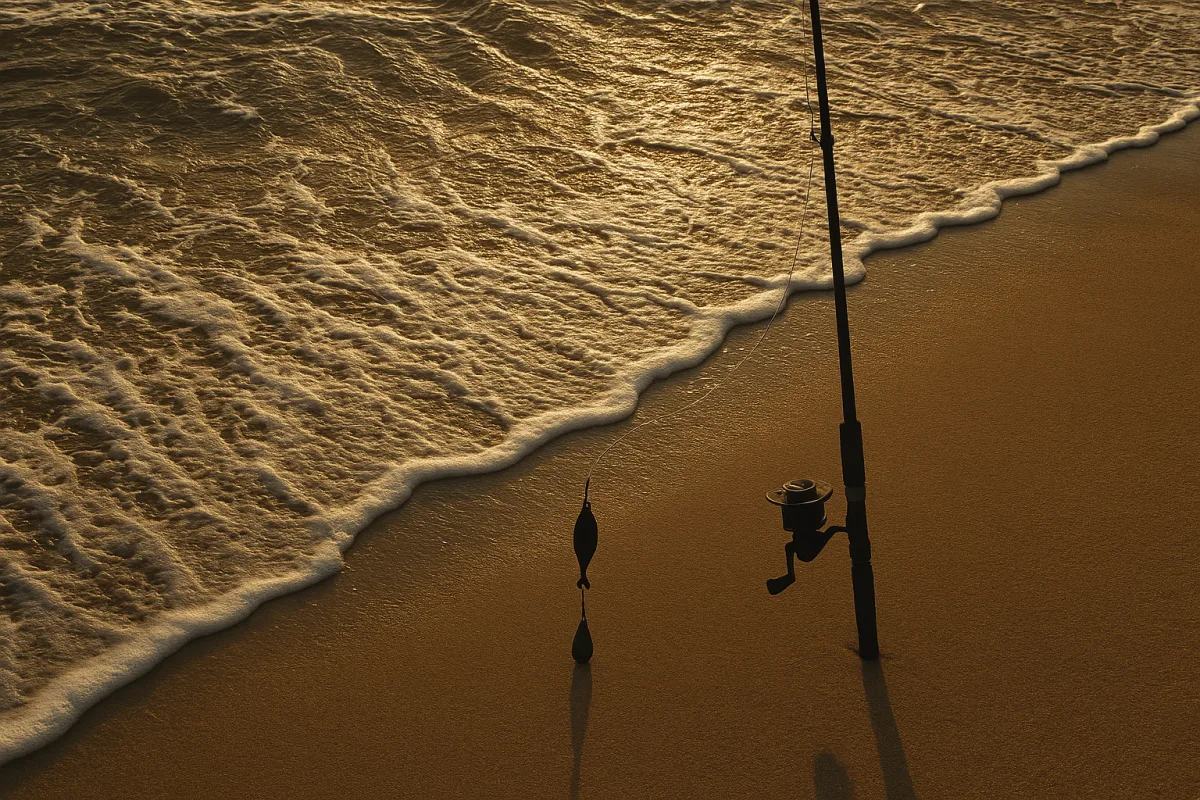
Surf Fishing in Murky Water: Tips for Catching Fish
Learn how to catch fish surf fishing in murky water with rigs, bait, and beach reading tips for low-visibility conditions.
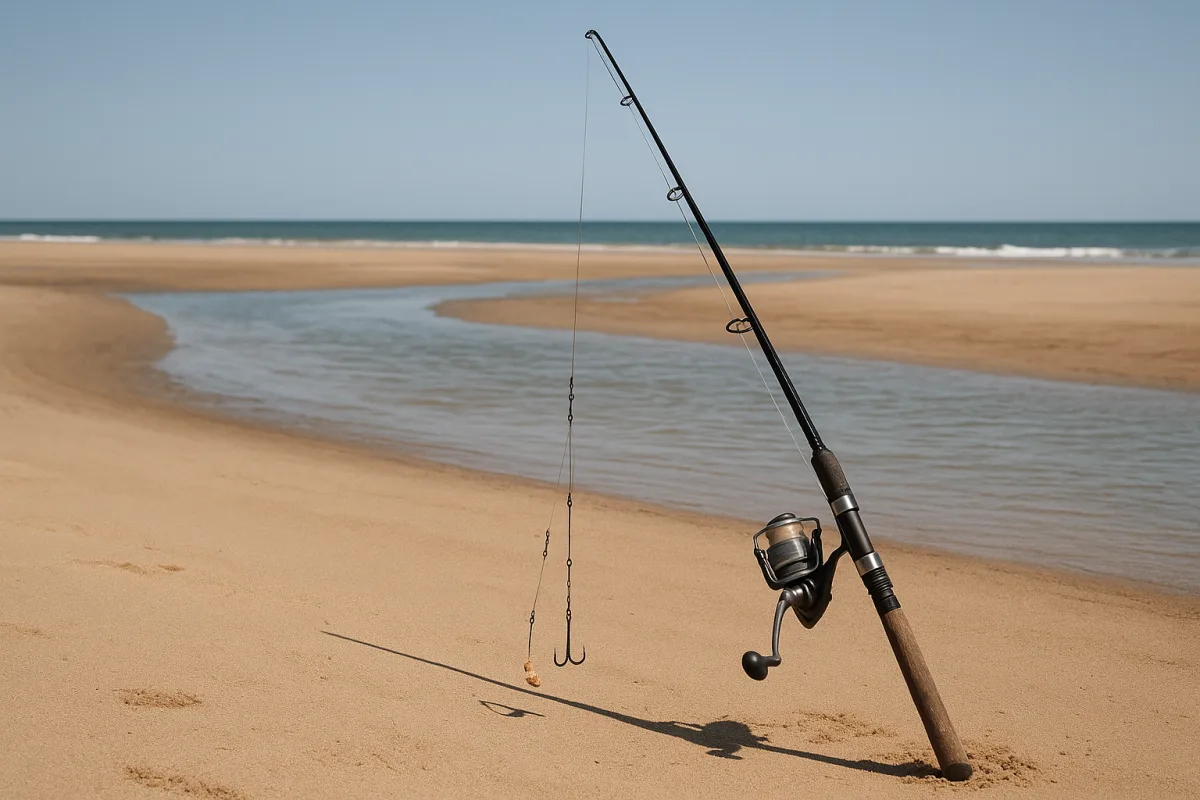
How to Fish During Low Tide
Learn how to fish during low tide with tips on finding fishable water, choosing rigs, casting distance, and reading the beach for surf fishing success.
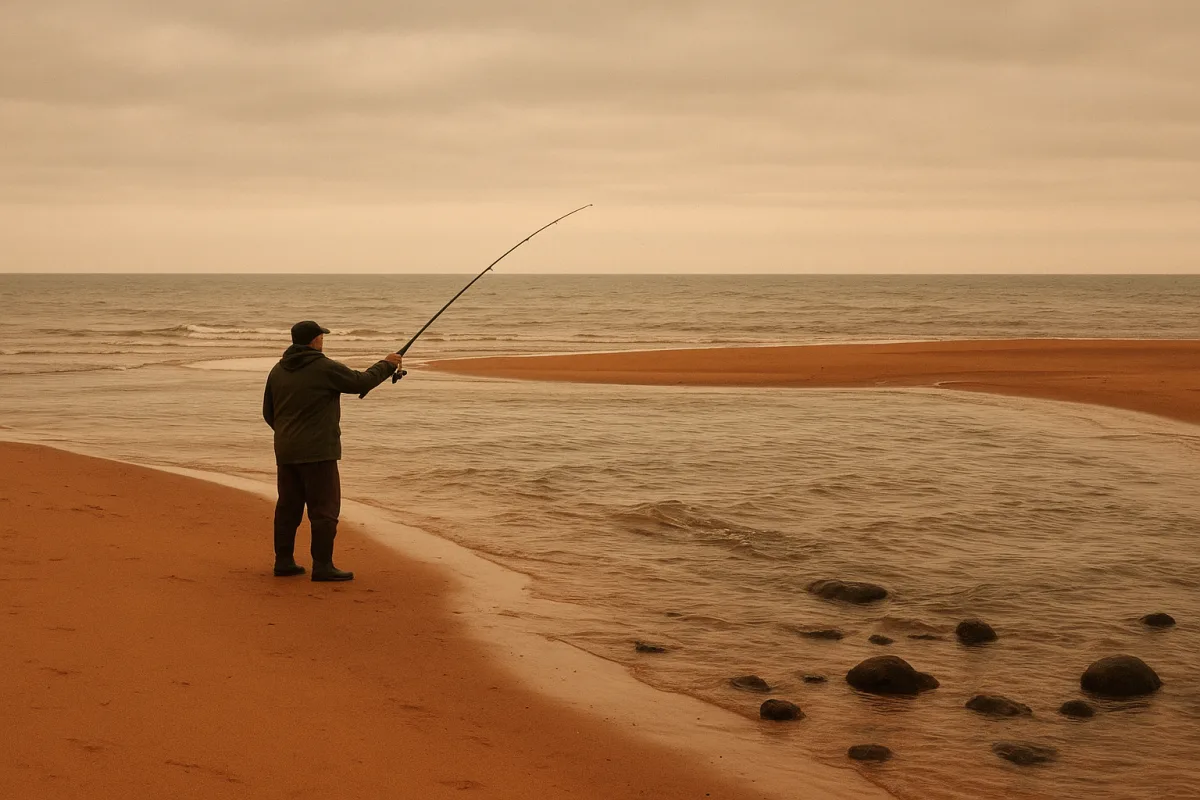
Find the Best Surf Fishing Spots Near Me Using Tide Windows
Learn how to find the best surf fishing spots near me by using tide windows, reading beach structure, and leveraging fishing apps effectively.
Common Surf Fishing Mistakes and How to Avoid Them
Learn common surf fishing mistakes about rigs, tides, gear, and reading the beach to improve your catch and fishing strategy.